
You’re sitting there, head in your hands, trying not to panic about your new printing project. How can you make sure your prints don’t just blend into the background and get tossed straight into the trash?
We have two words for you: die cutting.
While the name might sound a bit intense, die-cutting is a fantastic way to spruce up your print materials. Printers generally use this technique to cut out unique shapes and patterns, creating memorable, standout pieces that are far more likely to catch the eye.
As a seasoned Reno printing shop, we’ve seen a fair share of clients excited about our custom die-cutting services. With a wealth of experience under our belts, we’re well-equipped to guide you through everything you need to know about using die cutting in your projects.
Join us as we dive into how this technique can transform your print materials from ordinary to extraordinary.

Table of Content
Types of Die Cuts
Design Considerations for Die-Cutting
Understanding Bleed and Margins
Software Considerations
Applications of Die Cutting in Printing Projects
What is Die Cutting?
But wait: what is a die cut?
In the world of printing, a die is a custom metal blade shaped into a unique pattern, design, or outline. When the blade presses into paper, it makes a cutout of the shape- just like a cookie cutter slicing through fresh dough.
Printable die cuts are usually meant for functional needs, such as cutting a piece of cardboard into a product box. But you can also use die-cutting for visual impact. For example, if you want to send out a holiday card with a snow globe cut out, you can die-cut the print to match your vision.
Types of Die Cuts
When it comes to die-cutting printing, you have options depending on your project needs.
Through Cutting
Through cutting is just what it sounds like- you cut all the way through the product. It’s great for when you need distinct, separate pieces from your material, like creating individual shapes for decorative elements or crafting precise parts for custom packaging.
Partial Cutting
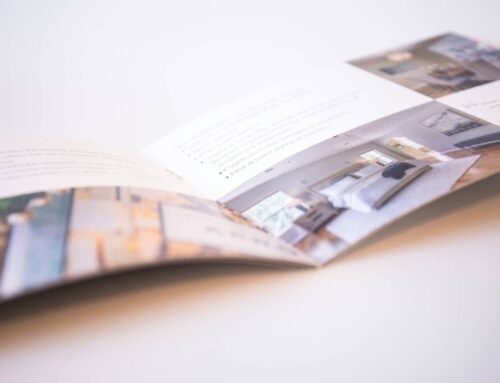
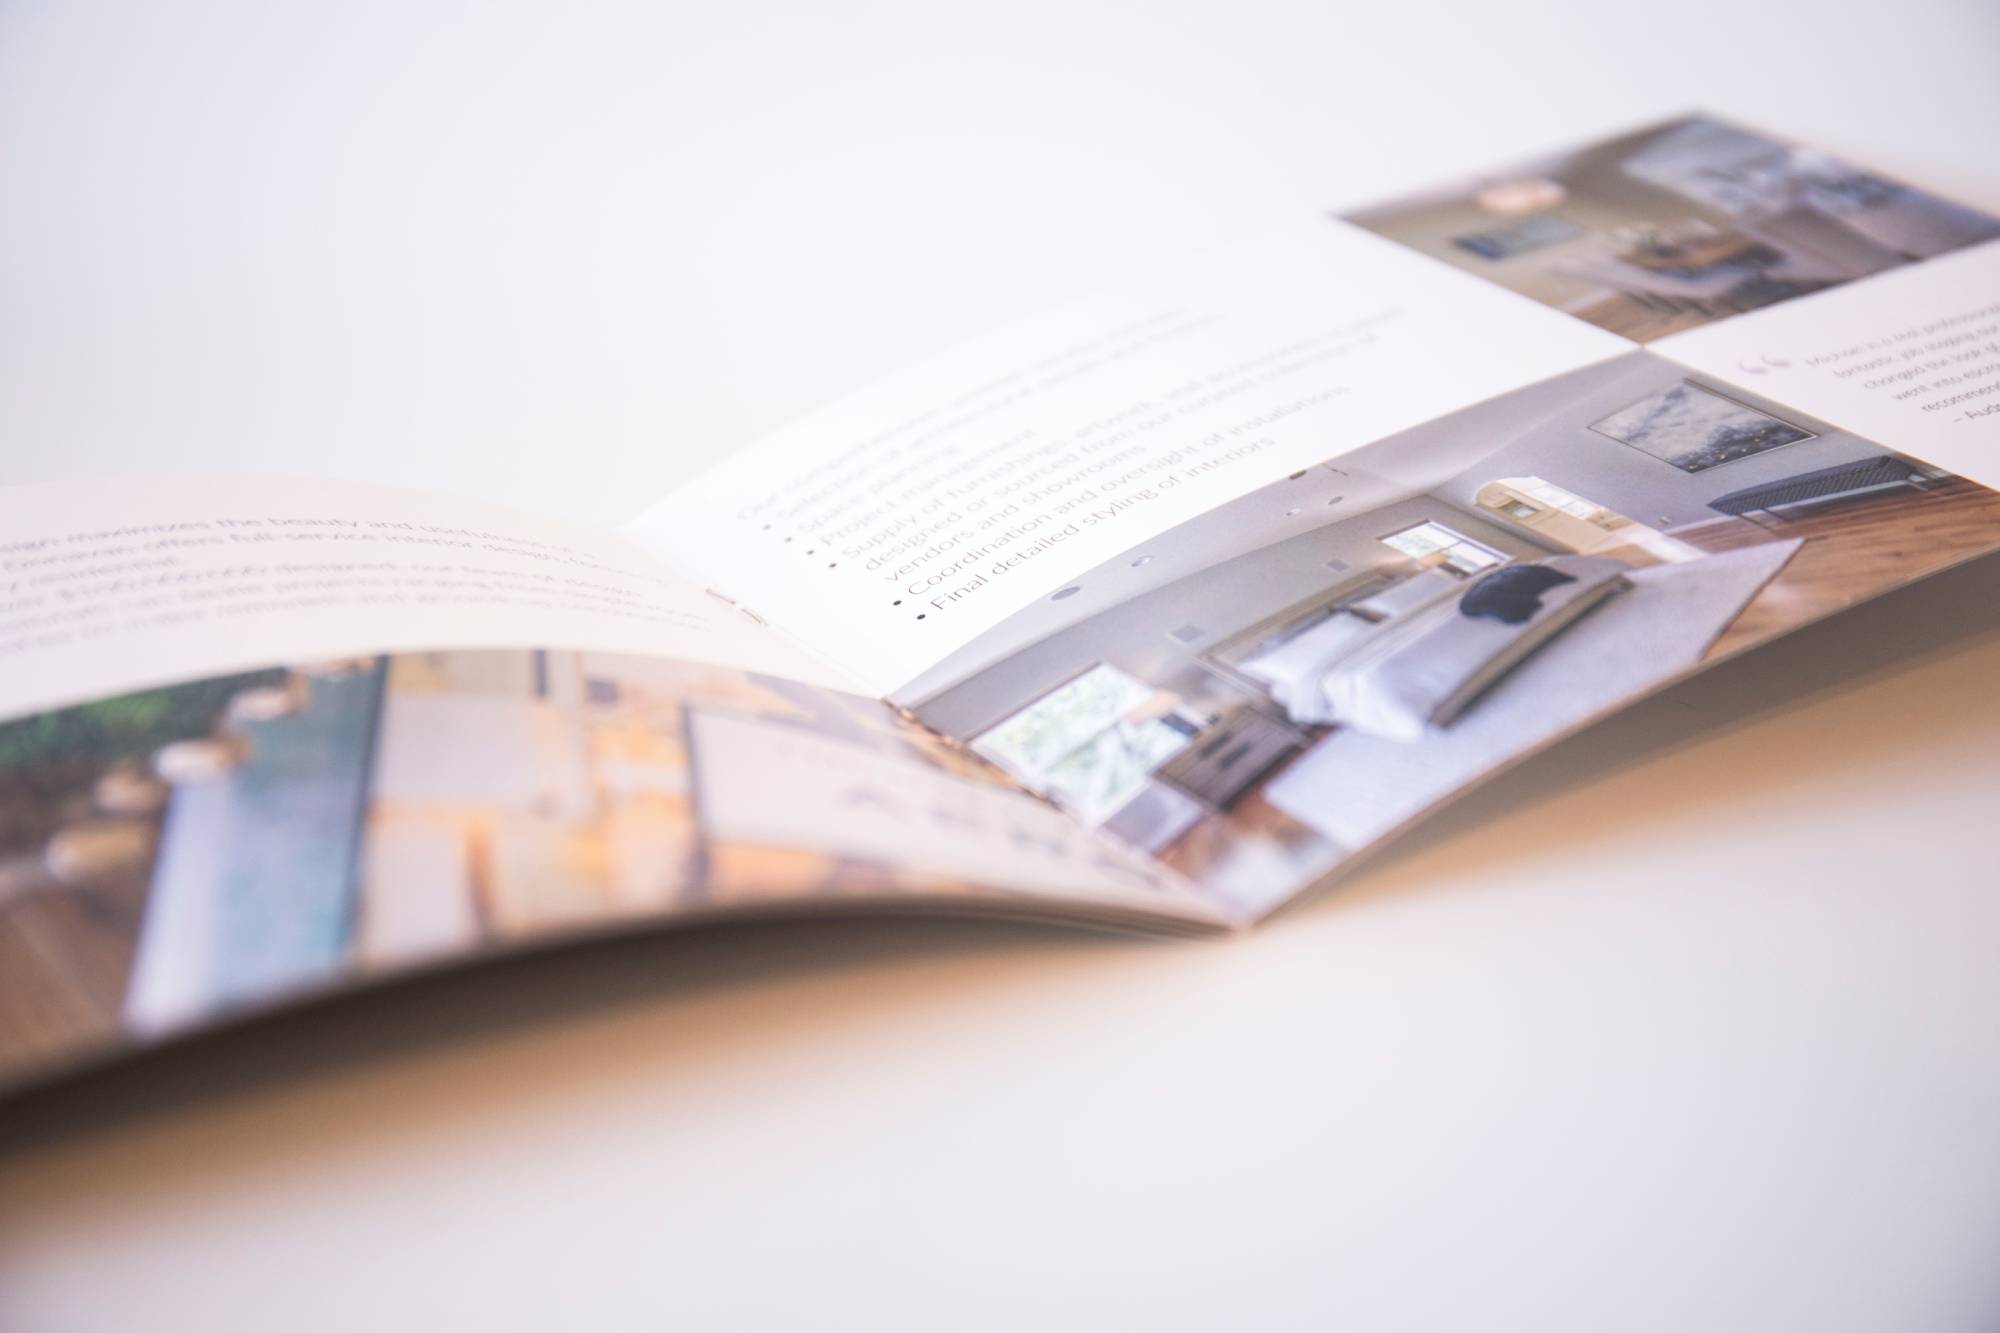
Partial cutting, often referred to as creasing, doesn’t sever the material completely. Instead, it scores or marks where a fold should go to add structure to your print items. This technique is ideal for making dynamic marketing materials like brochures that have a 3D element or custom mailers with fold-out sections. Basically, it adds an interactive element to your prints, turning a flat page into something you can flip, fold, and fiddle with.
Design Considerations for Die-Cutting
Before you dive into a die-cutting project, there are a few key design considerations to keep in mind to make sure everything turns out just right.
Choosing the Right Shape and Complexity
It’s important to pick the right shape for your project. Simple shapes are straightforward and cost-effective, but sometimes, you need a bit of complexity to get the look you’re going for.
Determine what you want to achieve with your die-cut design. Is it purely decorative, or does it serve a functional purpose?
Also, think about who will be receiving or seeing your product. A complex, delicate design might be perfect for a luxury invitation but could be overkill for a promotional flyer.
Remember, the more intricate the design, the higher the cost and delivery times. Choose wisely based on what your project goals are and what your budget allows.
You can also look for ways to simplify your design without compromising the overall impact. Sometimes, minor adjustments can reduce costs significantly while preserving the design’s integrity.
Understanding Bleed and Margins
For printing, especially with die cutting, you must be spot on with your bleed and margins.
Bleed is the extra bit of design that extends beyond the cut line to prevent unprinted edges if the cutting is slightly off. Likewise, margins keep your critical design elements from being too close to the cut line.
Set the Bleed: Always add a little extra to your dimensions—typically about 1/8 inch (3mm) beyond where the cut will be made.
Extend Your Design: Make sure any background colors or images in your design extend into the bleed area.
Check and Double-Check: Once you’re ready to finalize your design, review the positioning of all elements in relation to the cut line. See that there’s ample space around the edges, so nothing important gets trimmed during the cutting process.
Software Considerations
Got the perfect design? Now, it’s time to bring it to life. Here’s how:
Choose the Right Software
Programs like Adobe Illustrator are typically the go-to for professionals because they let you layer-cut lines right over your artwork. This way, your cuts can match your design perfectly and create clean, sharp die lines.
If Adobe Illustrator isn’t an option, consider other vector-based design software like CorelDRAW or Affinity Designer, which also supports layers and accurate line placements.
Learn to Create Die Lines
There are plenty of online tutorials that can walk you through the process of setting up die lines in your chosen software. Invest time in learning these skills—it’ll pay off in the quality of your final product.
Test Your Files
Before you send your designs off for die cutting, print a test run to see how your digital design translates into a physical product. If possible, share your files with a printing professional or a mentor who can provide insights and suggest improvements.
Applications of Die Cutting in Printing Projects
The great thing about die-cutting is that there’s virtually no limit on what you can do with it. To help get your creative juices flowing, we’ve compiled a few ways to incorporate die cuts in your printing projects.
Brochures
You only need some clever die-cutting to take your brochures to the next level. Use die cuts to add peek-a-boo windows or create layers that reveal more information as you fold them. It’s a great way to engage someone’s curiosity and encourage them to read more.
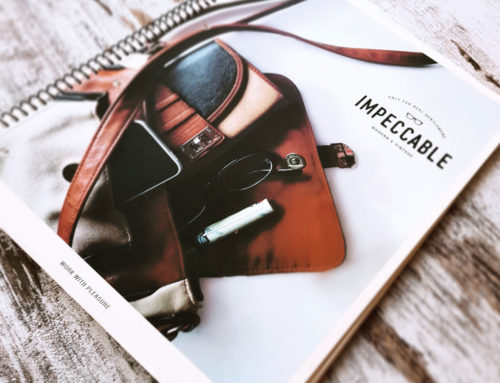
Packaging
Die cuts can transform your plain boxes, pouches, and other packaging material into something premium. Think about a custom window on a box that shows off the product inside, or unique contours that make the package more ergonomic and easier to open.
Invitations
Want your event to feel special right from the start? A die-cut invitation is the way to go. From elegant shapes that hint at the theme of the event to interactive elements like pull-out sections, die-cutting can turn your invitations into a keepsake.
Business Cards
Transform your first point of professional contact with die-cut business cards. Break away from the traditional rectangle with cards cut into shapes that reflect your industry or personality. A uniquely shaped business card stands out in a stack and demonstrates your attention to detail.
The Bottom Line
And that wraps up our take on the uses of die-cutting printing! If you’re planning a printing project, think about how die-cutting could add an extra layer of engagement or elegance to your materials.
Or talk to the experts at Digiprint! We offer custom die-cut label services to bring your packaging, promotional materials, and branding efforts to life. Get tailor-made labels adhering to the highest standards of quality and aesthetics.
Contact us today!