
Bleed might sound like a small detail in print design, but it has a big impact on how professional your finished piece looks. Whether you’re making business cards, flyers, or brochures, adding bleed means your design goes right to the edge.
Skipping this step can lead to crooked cuts, chopped-off images or text, and those thin white lines everyone wants to avoid. In fact, around 30% of print jobs include preventable mistakes, many caused by incorrect or missing bleed settings. If you get bleed right from the start, you can skip the extra reprints, stay on schedule, and know your print will look polished every time.
In this post, we’ll cover what bleed is in printing, why you need it, how to set it up in design software, and what the usual bleed sizes are for most projects.

What Is Bleed in Printing and Why Is It Important?
In printing, bleed is one of those small details that can change how your finished piece looks. When set up correctly, bleed printing makes sure your materials come out looking crisp, colorful, and professional, whether you’re working with local printing companies or handling it yourself.
What Does Bleed Mean in Printing?
Bleed is the extra 1/8 inch you add to each edge of your design, past where the paper will be cut. This extra bit makes sure little shifts during trimming don’t leave you with an awkward white border.
The bleed area for printing is your insurance that background colors and images will go right to the paper’s edge. The bleed should reach the outside edge of the sheet to make sure there are no unprinted borders.
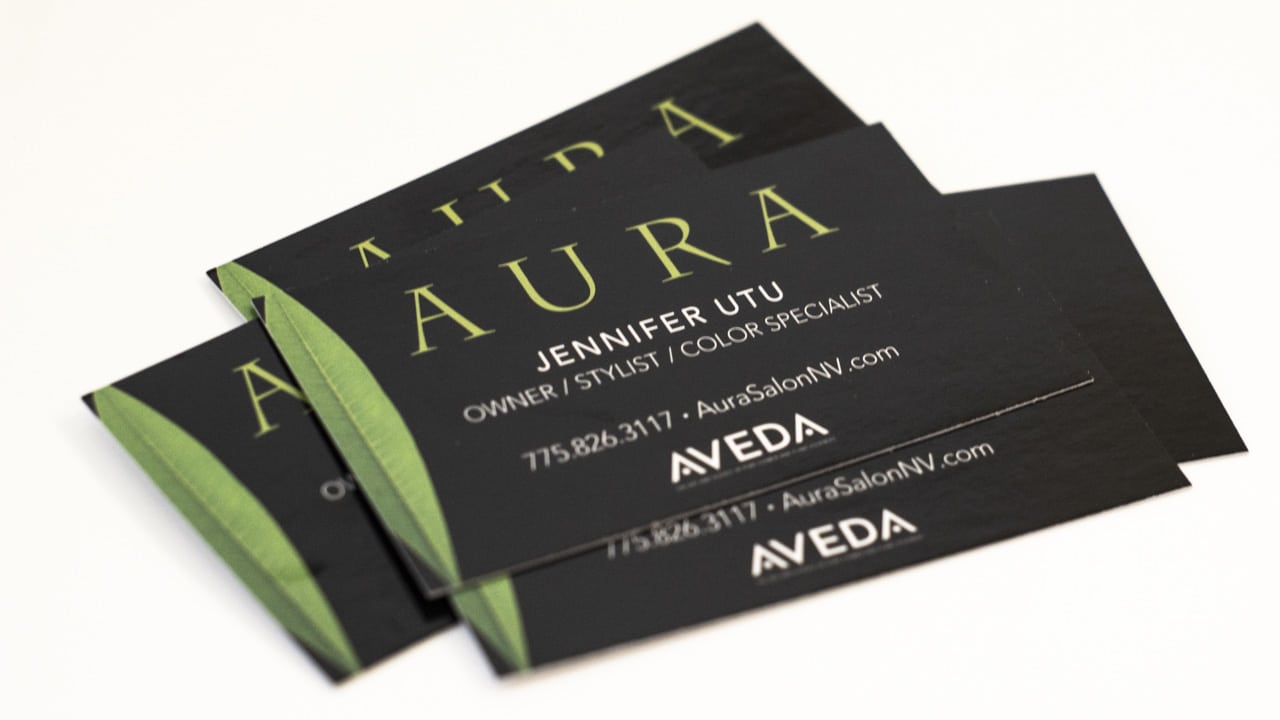
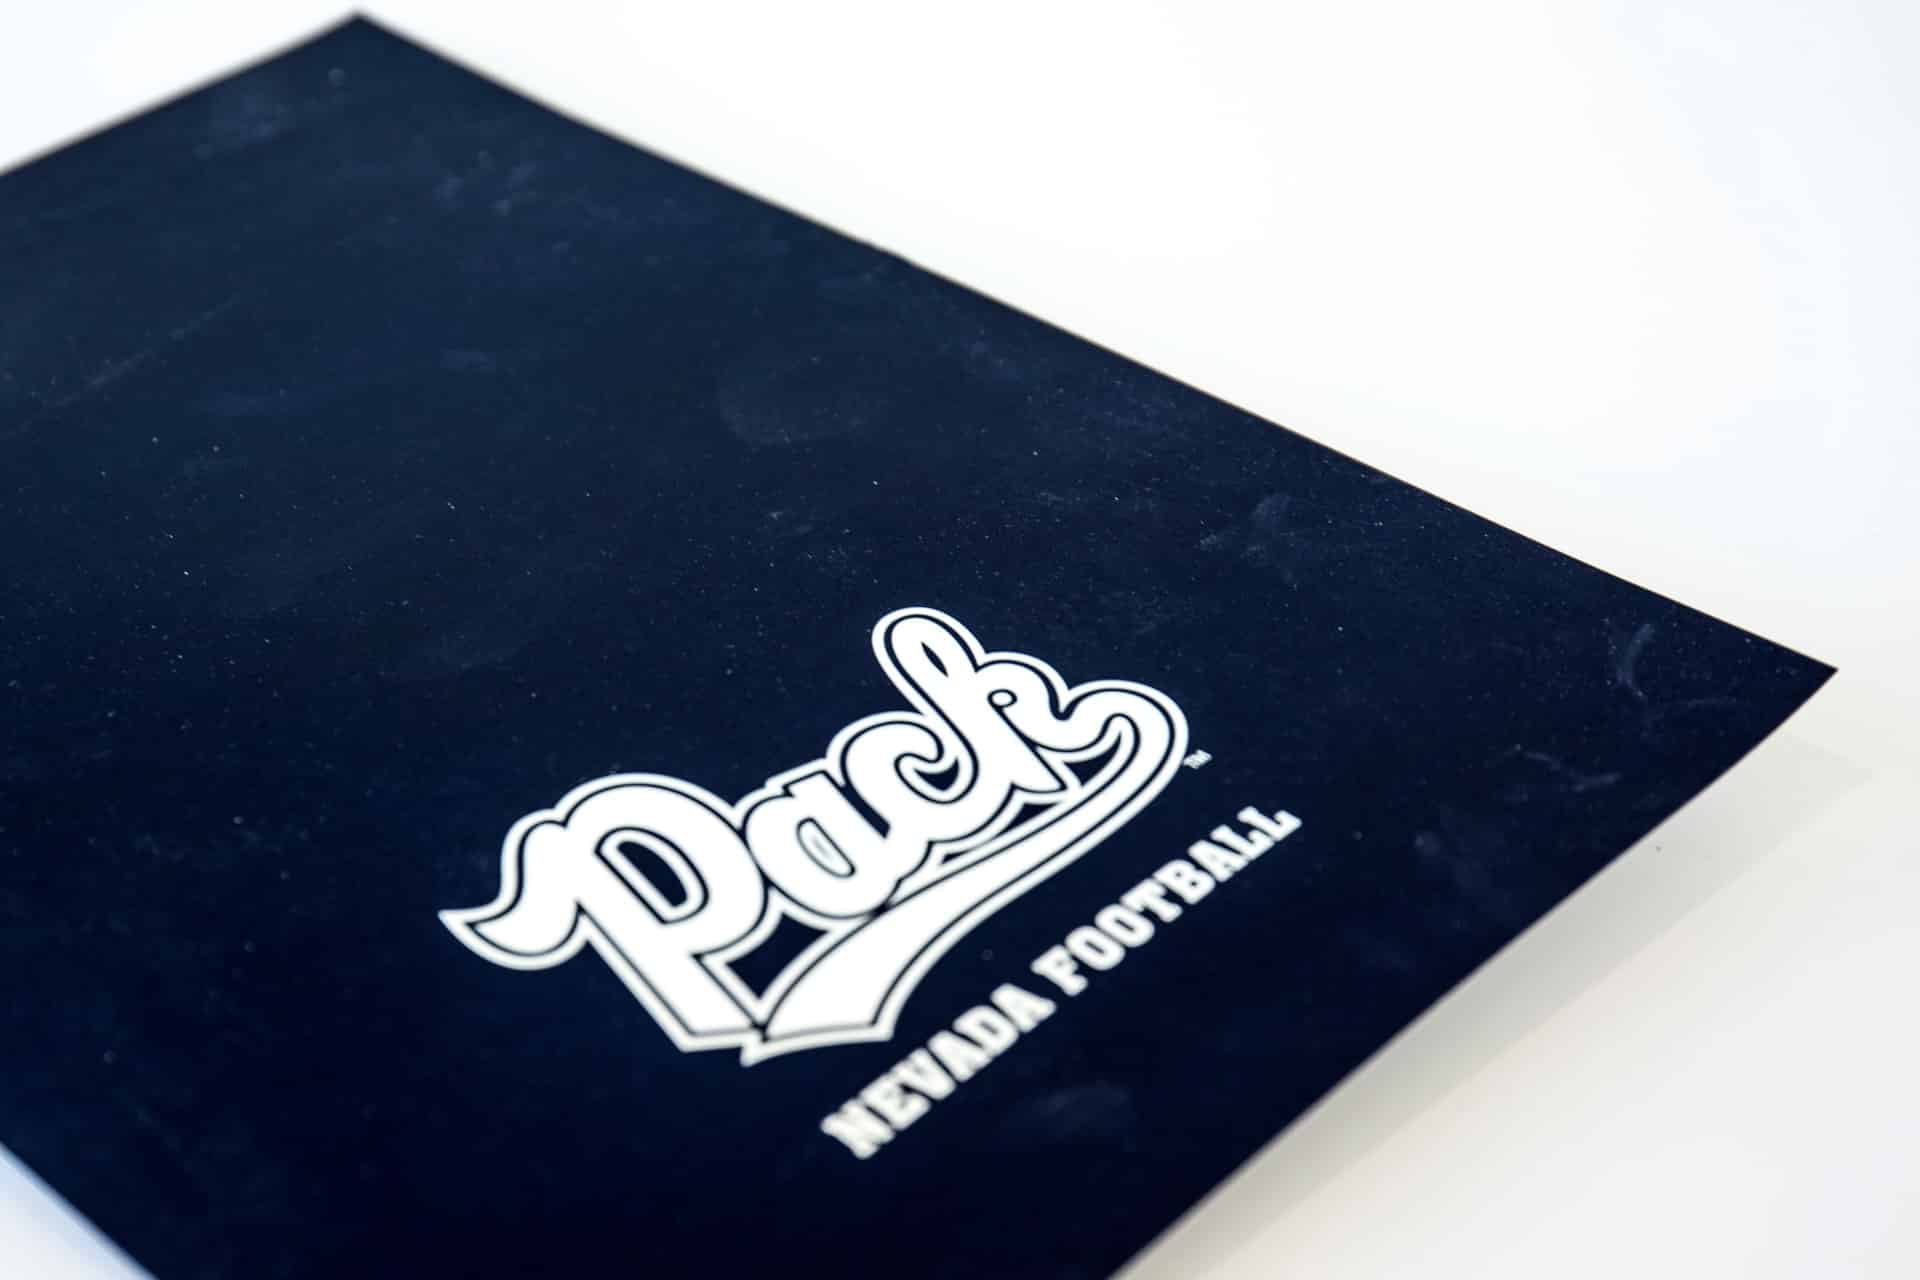
Whether you’re printing a business card or a full-page ad, adding the bleed size for printing gives your project a neat, polished finish. by making sure all elements that need to reach the edge are included in the bleed area.
Why Bleed Is Crucial for Professional Results
Even with expert equipment, tiny shifts can happen when trimming printed pieces. These shifts can occur due to mechanical tolerances during the printing and cutting process. Adding bleed gives your printer space for extra image around the edges, so your design goes right to the very border.
If you skip bleed printing, you risk crooked cuts or thin white strips that can ruin the look of your final product. To avoid this, make sure all important information, such as text and logos, stays within the safe area. Whether you’re ordering postcards, business cards, or brochures, adding the correct bleed size for printing guarantees that every piece comes out sharp and polished.
Always leave enough room in your design to account for bleed and trimming.
Understanding Bleed Area and Standard Sizes
Getting the bleed area for printing right is one of the easiest ways to avoid production issues and keep your final product looking sharp. Since bleed requirements can vary based on the type of project, it’s important to match your design specs to what you’re printing, and confirm with your print shop if you’re unsure.
What Is the Standard Bleed Size in Printing?
Most small-format projects like business cards and flyers follow a standard bleed for printing of 0.125 inches (1/8 inch or 3mm) on each side. For example, if you are setting up a document for an 8.5 x 11-inch sheet, you should set your document size to 8.75 x 11.25 inches to include the bleed. After trimming, the finished size will be 8.5 x 11 inches.
For larger items like banners or signs, your printer might ask for even more bleed, sometimes 0.25 inches or larger, depending on their equipment. To stay on the safe side, always check with your printer before submitting files.
Bleed vs. Trim vs. Safe Area
If you want your prints to look sharp and polished, it helps to know how bleed, trim, and safe zones work together. Each one does something important to avoid layout issues that can come up during bleed printing, especially with custom cuts or professional jobs from local printing companies.
Bleed Area
The bleed area for printing is extra space, about 1/8 inch (0.125 inches or 3mm), that goes past where your project will be cut. Here’s where your background colors or images should stretch, so you don’t get any surprise white edges after trimming.
Any design element intended to reach the edge must be included in the bleed area. Design elements like graphics, backgrounds, or even a photo should be extended into the bleed to get a clean, professional look from edge to edge. It’s a simple trick that makes your design look clean from edge to edge.
Trim Area
Think of the trim area as the finish line. This is where the printer slices your project to its final size, trimming the sheet at the outside edge. Let your images and backgrounds go past this line, but make sure things like text and logos don’t sit right on it; you want those details to stay safe and fully visible.
Safe Zone
The safe zone is a little margin inside the trim, typically another 1/8 inch. This is your “no danger” zone for headlines, paragraph text, logos, or anything you want to keep. The safe zone should be a suitable distance from the trim to make sure important content is protected from accidental trimming.
Plus, sticking to this area helps your message survive any small movement during cutting, so everything comes out looking great.
How to Set Up Bleed in Your Design Files
Getting the bleed size for printing right at the start of your project helps avoid layout issues later. Whether you’re working with pro software or online tools, setting it up properly makes sure your design prints exactly as expected.
Setting Bleed in Adobe Illustrator, InDesign, or Canva
Here’s how to add bleed printing in your favorite programs, so your designs look sharp every time:
Adobe Illustrator
When starting a new document, go to “More Settings” and enter 0.125” in the bleed fields for all sides.
Adobe InDesign
In the new document window, look for the bleed settings and set each side to 0.125” to match standard print bleed. Some users prefer to set measurements in inches rather than picas for easier setup. Make sure to set the bleed for both horizontal and vertical dimensions.
Canva
Click File > Show Print Bleed, then drag your background or image past the dotted bleed line to make sure it prints to the edge.
Photoshop
Photoshop does not have default bleed settings, so you need to manually increase your document size by the bleed amount (typically 0.125″ on each side).
Position guides at the trim edge and include all design elements that should extend beyond the trim edge into the bleed area. This helps create a print-ready file and prevents unwanted borders after trimming.
File Types That Support Bleed
Not every file type is built for printing with bleed. Here’s what works best:
Save your file as a PDF and make sure bleed and crop marks are included. When exporting, be sure to add bleed marks to help the printer trim accurately and prevent unwanted white borders. This format keeps everything lined up for your printer.
AI or EPS
These are great if your design is made with vectors (lines and shapes instead of photos).
Try to avoid JPGs and PNGs, they don’t keep bleed settings. When you’re ready to send your artwork, save it as a PDF with bleed and crop marks (including bleed marks) so it prints how you laid it out.
Bleed vs. No-Bleed Printing: What’s the Difference?
Bleed printing extends your design beyond the trim edge, while no-bleed printing ends the content exactly at the trim line. No-bleed printing can result in fine white lines if the cut isn’t perfectly aligned. This increases the possibility of misalignment or print errors, especially at the edges.
Use no-bleed printing only when your design has enough margin and doesn’t rely on edge-to-edge visuals. Think internal documents or centered flyers. But if your design includes full backgrounds or borderless graphics or covers, always go with bleed.
FAQs About Matte vs Glossy Printing
Need Professional Guidance for Perfect Prints?
Choosing the right bleed size means your print will stretch right to the edge, no awkward white borders or clumsy cuts. This tweak saves you from wonky edges and wasted reprints, so your design looks exactly how you pictured it.
Not sure how to set up your file for bleed printing? Digiprint can help. Get in touch, and our team will show you how to set up your files with bleed, so everything prints and cuts the way you want.


