
What Is Bleed?
Bleed in printing is simply the part of your artwork extending past the final cut edge of your piece. Anytime color, images, or backgrounds reach the edge of the page, bleed is what keeps the unwanted white borders from showing up.
Printers cut through big stacks of sheets all at once, and the blades can shift ever so slightly along the way. Bleed acts as your safety cushion, so even if the cut lands a hair off, your design still fills the whole page.
What Is the Standard Bleed Size?
The standard bleed size for many commercial printing projects is:
0.125″ or 1/8″ on each side
For example, a standard 3.5″ x 2″ business card with bleed should be built as a 3.75″ x 2.25″ file, so you have 1/8″ extra artwork on all four sides.
Some large-format, bound, folded, or custom-cut projects may require different specifications. Always follow the product template or job-specific instructions when they are available.

When Is Bleed Required?
Bleed in printing is required when any design element is intended to continue to the finished edge, including:
- Photographs
- Solid background colors
- Gradients
- Patterns
- Illustrations
- Decorative shapes
- Full-page graphics
A design may not need bleed if it has an intentional white margin on every side and no printed element touches the edge. However, the document must still be created at the correct finished size.
Products That Commonly Use Bleed
Bleed is frequently needed for:
- Business cards
- Flyers
- Brochures
- Postcards
- Booklets
- Posters
- Invitations
- Rack cards
- Presentation folders
- Full-page inserts
- Stickers and labels with edge-to-edge artwork
What Is the Trim Line?
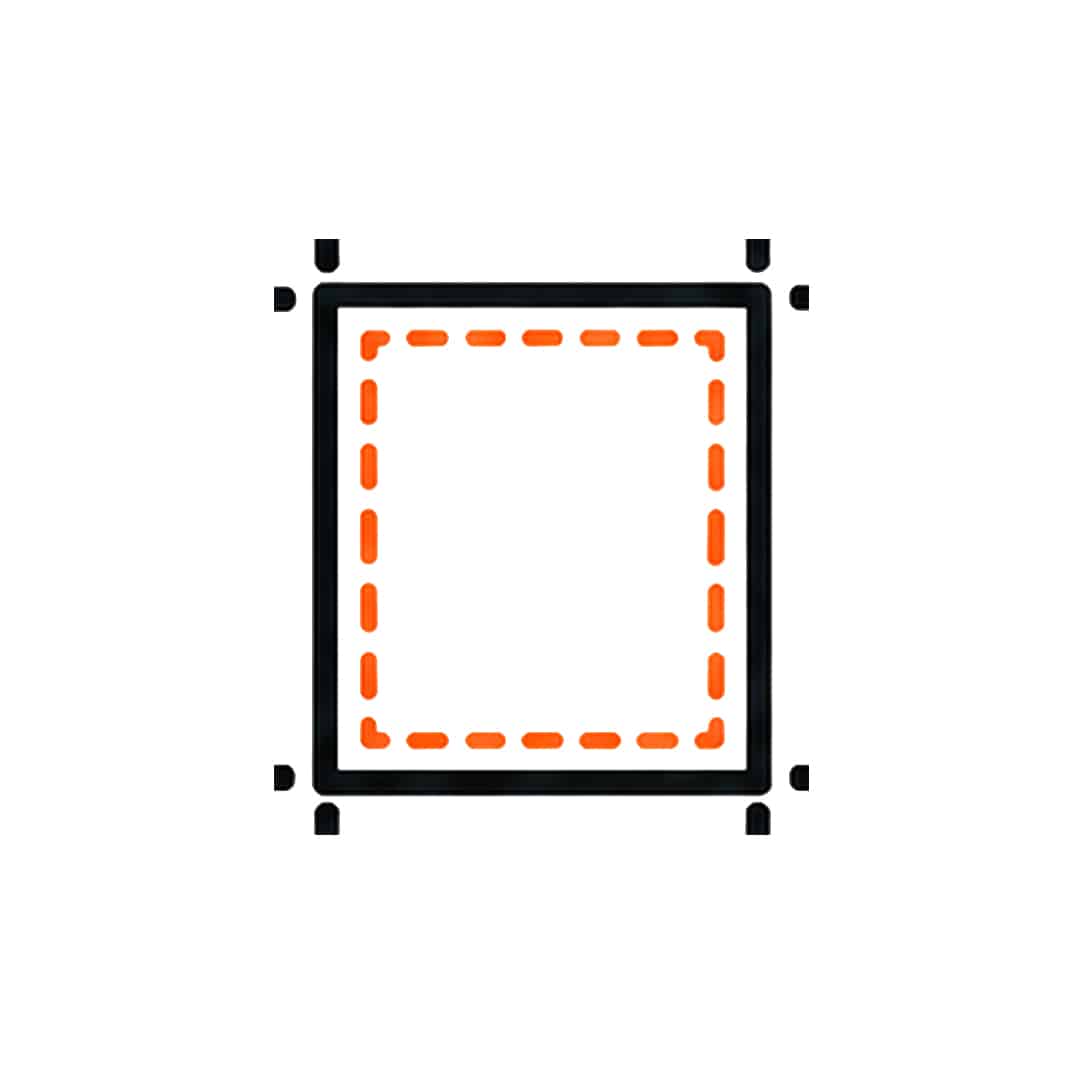
The trim line shows the intended finished edge of the product. Everything outside this line is removed during cutting.
If you order an 8.5″ × 11″ flyer, the trim line defines that 8.5″ × 11″ finished size. The bleed extends beyond it, and the safe area sits inside it.
How Printed Products Are Trimmed
Once everything’s printed, the sheets are trimmed along the intended trim line, removing the bleed and leaving the finished piece at its specified dimensions.
Understanding Trim Tolerance
The trim line is the target cut, not a guarantee that every cut will land in the exact same microscopic position. Small variations can occur because of:
- Paper movement through the press
- Shifting within a stack
- Finishing and cutting processes
- Paper expansion or contraction
- Folding or binding requirements
Bleed and safe margins account for this expected production variation. They allow the finished piece to look correct without depending on a perfectly exact cut.
Why the Trim Line Matters
The trim line establishes the final dimensions and determines which parts of the design will remain visible. Placing important content directly on or close to this line can result in text or graphics being cut off.
Use the trim line as a production boundary, not as a place to align critical design elements.
What Is the Safe Area?
The safe area is the protected space inside the trim line. Text, logos, and other essential information should remain within this area to make sure they are not cropped or left uncomfortably close to the finished edge.
As a general guideline, keep essential elements at least 0.125″ inside the trim line, with additional space when the design allows. When a DigiPrint template provides a specific safe zone, follow the template rather than relying on a general measurement.
What Belongs Inside the Safe Area?
Keep all information that must remain clear and complete inside the safe area, including:
- Headlines and body copy
- Company names
- Logos
- Phone numbers and website addresses
- QR codes
- Barcodes
- Prices and promotional details
- Legal disclaimers
- Page numbers
- Fine lines and small icons
Backgrounds and decorative images may extend beyond the safe zone. Essential content should not.
Safe-Area Mistakes to Avoid
Do not place a phone number, QR code, or logo directly against the trim line. Even if the element is not cut, it may appear crowded after trimming.
Borders also require careful placement. A narrow border close to the edge can appear thicker on one side if the cut varies slightly. Move borders well inside the safe area, or allow the design to run fully to the edge without a border.

How Bleed, Trim and Safe Area Work Together
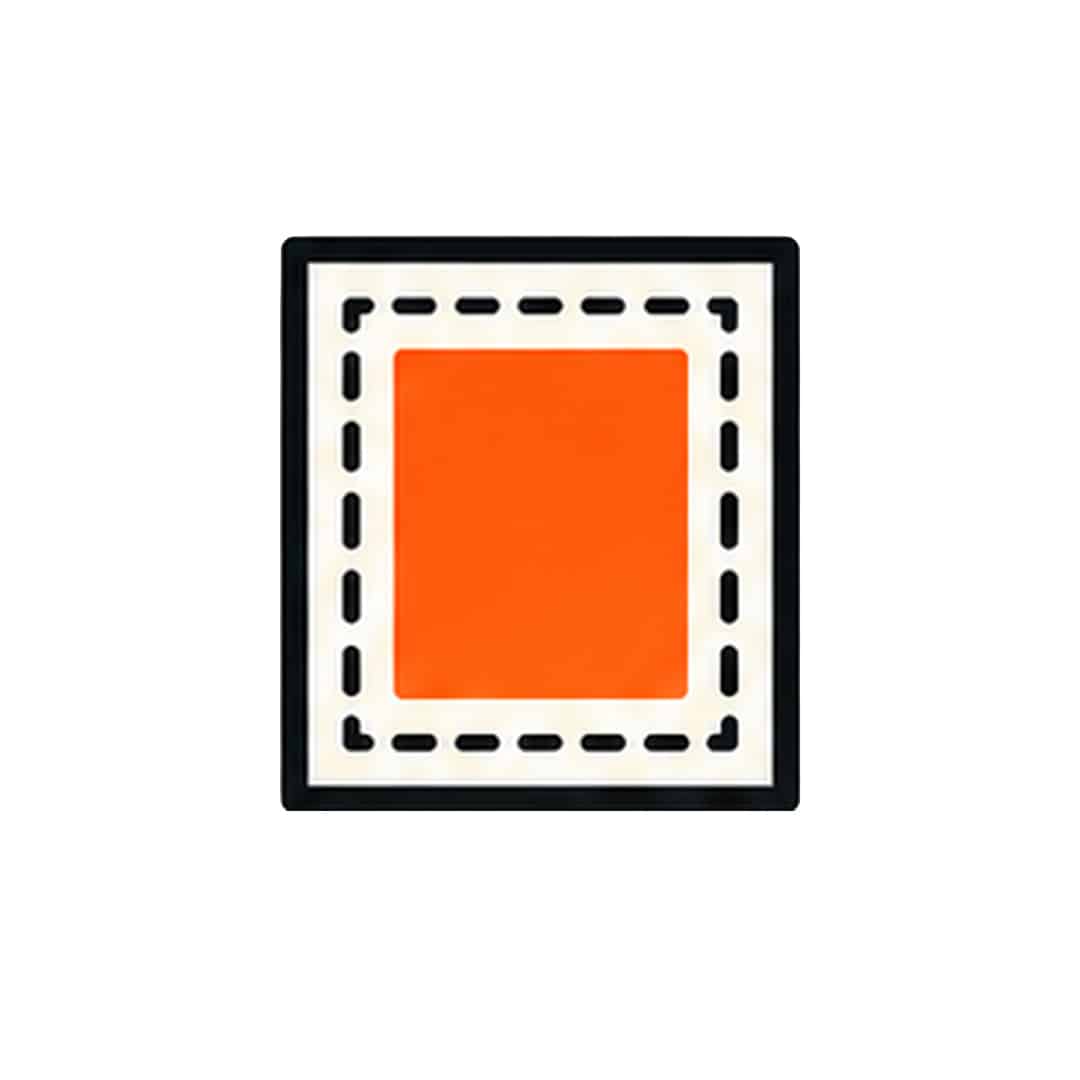
The easiest way to picture all this is three nested boxes, each with its own job:
- Bleed (outermost): Extends past the trim so no white edges sneak in
- Trim (middle): Where the actual cut happens
- Safe area (innermost): The protected zone for your essential content
Complete Artwork Layout
From the outside of the document toward the center, the layout should appear in this order:
Bleed edge → Trim line → Safe-area boundary → Critical content
A background photograph should continue from the safe area, cross the trim line, and reach the outer bleed edge. A headline placed over the photograph should remain fully inside the safe area.
Standard Print Document Setup
For many everyday print projects, your commercial printing artwork setup will look something like this:
- Create the document at the exact finished dimensions.
- Add 0.125″ bleed to the top, bottom, left, and right.
- Add safe-area guides at least 0.125″ inside the trim line.
- Extend all edge-to-edge artwork into the bleed.
- Keep critical content within the safe-area guides.
- Export the artwork as a print-ready PDF with bleed included.

Example: 8.5″ × 11″ Flyer
For a standard letter-size flyer:
- Finished trim size: 8.5″ × 11″
- Bleed: 0.125″ on every side
- Total file area with bleed: 8.75″ × 11.25″
- Recommended safe area: At least 0.125″ inside every finished edge
The final product remains 8.5″ × 11″. The additional file area exists only for production.
Best Practices for Professional Print Files
- Use the exact template for folded, cut, or bound products.
- Keep guides and production notes on nonprinting layers.
- Do not place a white box over the bleed area.
- Avoid positioning symmetrical frames close to the trim.
- Check that linked images are available and correctly placed.
- Use vector artwork for logos and fine linework when possible.
- Review the exported PDF rather than relying only on the source file.
- Confirm that no essential content crosses folds, perforations, or binding areas.

No Bleed vs. Bleed vs. Proper Bleed Setup
| File setup | What the artwork shows | Likely finished result |
| Artwork without bleed | The background ends at the trim line. No extra image area is available outside the finished size. | A cutting shift may expose a white strip along one or more edges. |
| Artwork with bleed only | The background reaches past the trim line, but text or logos remain close to the finished edge. | The outer edge prints correctly, but important content may be cropped or appear too close to the edge. |
| Proper artwork setup | Backgrounds extend through the bleed, the trim line is identified, and critical content stays inside the safe area. | The finished piece has complete edge coverage and comfortably positioned content. |
The main takeaway is simple: bleed protects the edge, the trim line defines the final piece, and the safe area protects the message. For the best printed result, use all three.
How to Add Bleed to Your Artwork
1. Set the Finished Document Size
Start with the final dimensions of the product. Do not create a larger page and guess where the cuts should go.
If the final piece is 5″ × 7″, create a 5″ × 7″ document and use the program’s dedicated bleed settings to add the extra 0.125″ around it.
2. Enter the Bleed Measurement
Adobe In Design
- Open File > Document Setup.
- Locate the bleed settings.
- Enter 0.125″ on all four sides.
- Enable the link option if you want the same value applied to every side.
Adobe Illustrator
- Open File > Document Setup.
- Enter 0.125″ for each bleed field.
- Confirm that the artboard matches the finished trim size.
Adobe Photoshop
Photoshop does not manage bleed in the same way as page-layout software. Create guides for the finished size, then enlarge the canvas by 0.25″ in both dimensions to provide 0.125″ on each side. Keep the finished-size guides visible while designing.
Canva
Enable Show print bleed where available. Extend backgrounds and photos through the bleed indicator, then choose the appropriate PDF print export option. Review the downloaded PDF to confirm the edge coverage is present.
3. Extend Backgrounds and Images
Move or enlarge every edge-to-edge element until it reaches the outside bleed boundary. Do not simply stretch a small image if doing so reduces its quality. Use an image with enough resolution to cover the complete bleed area at the final output size.
4. Position Critical Content
Create guides inside the trim line for the safe area. Then verify that text, logos, page numbers, barcodes, QR codes, and essential graphics remain inside those guides.
Remember that a design can technically survive trimming and still look poorly spaced. Give content enough distance from the edge to maintain a deliberate, readable layout.
5. Export With Bleed Included
When exporting the final PDF:
- Select a high-quality or press-quality PDF setting.
- Enable Use Document Bleed Settings or the equivalent option.
- Do not include printer spreads for booklets unless specifically requested.
- Include crop marks only if DigiPrint’s instructions call for them.
- Make sure marks sit outside the bleed and do not overlap the artwork.
6. Complete a Final Preflight
Open the exported PDF and check it at high magnification. Confirm that:
- The page dimensions are correct.
- Backgrounds reach beyond the trim.
- Important content remains inside the safe area.
- Fonts display correctly.
- Images look sharp.
- No guides, comments, or template instructions will print.
- The file contains the correct number and order of pages.
Bleed Requirements by Print Product
The specifications below are general recommendations. Always follow the DigiPrint template or job-specific requirements when provided.
| Print product | Recommended bleed | Setup notes |
| Business cards | 0.125″ per side | Keep names, contact details, and logos at least 0.125″ inside the trim. Avoid narrow frames near the edge. |
| Flyers | 0.125″ per side | Extend full-page colors and photographs through the bleed. Use a larger interior margin when the layout allows. |
| Brochures | 0.125″ per side | Account for both trim and fold positions. Keep text away from panel edges and folds. |
| Postcards | 0.125″ per side | Protect addresses, mailing information, QR codes, and offer details with clear interior spacing. |
| Booklets | 0.125″ per side | Bleed is generally needed on pages with edge-to-edge artwork. Allow extra space near the binding and follow the supplied template. |
| Posters | Usually 0.125″ per side | Requirements can change with poster size and finishing method. Confirm specifications for oversized formats. |
| Stickers and labels | Usually 0.125″ beyond the cut path | Extend artwork outside the cut shape and keep essential content safely inside it. Custom shapes may require a dedicated template. |
| Presentation folders | Use the provided template | Folder layouts include folds, pockets, glue areas, and die lines. Do not estimate these positions. Extend backgrounds through all required bleed areas. |
Special Considerations for Folded and Bound Products
Bleed does not account for folds, panel alignment, binding, or page creep. Brochures, booklets, and presentation folders may need additional guides and adjusted content placement.
Do not assume every panel has identical dimensions. Use the correct production template so artwork aligns with the actual construction of the product.
Common Artwork Mistakes to Avoid
Print-Ready Artwork Checklist
Review every item before submitting your file.