
Physical calendars are still a go-to for homes and businesses, even though digital tools are everywhere. People love having a calendar they can see every day, jot down plans, and sometimes even give as a thoughtful gift or a handy promo item. In fact, a recent survey from The Advertising Specialty Institute found that 62% of recipients hang onto branded calendars for at least a year, which helps businesses get noticed all year long.
However, printing a calendar is about more than just dates on a page. A good design and quality printing choices make the difference between a calendar that’s used and displayed versus one that gets set aside. Clarity, consistency, and attention to detail are important for any business or organization that wants to make an impact each day of the year.
Whether you’re designing promotional calendars for business or a personal keepsake, our custom printing services in Reno, NV, can turn a simple calendar into something functional, memorable, and even gift-worthy.
Let’s discuss the most effective steps for how to print a calendar that stands out, from initial concepts to professional production and distribution.

Table of Content
1. Keep Your Calendar Designs Focused and Consistent
2. Use a Calendar Template for Efficiency
3. Use High-Quality Images for Professional Results
4. Calibrate Your Monitor Before Designing
5. Consider How the Calendar Will Be Used
Bonus Tip: Plan Ahead for Calendar Distribution
1. Keep Your Calendar Designs Focused and Consistent
When your calendar has a clear, steady look, it’s easier for people to recognize your brand and use the calendar every day. Incorporating personal photos or artwork as the main visual element can further improve your calendar’s appeal and make it unique.
Whether you’re printing calendars for business promotions or fun, sticking with one style makes it easy to read and more likely to earn a spot on the wall or desk. Don’t hesitate to try out different ideas for calendar layouts and themes to make your calendars stand out.
How to Print a Calendar That Reflects Your Brand
Start by deciding on design elements that represent your brand or organization: colors, logo placement, preferred fonts, and image styles. Create a reference sheet or brand guideline and stick to these choices across all twelve months. Visual consistency helps your audience recognize and connect with your message at a glance.
Also, make sure layouts and fonts remain the same from page to page. This avoids the calendar looking as if it’s been cobbled together from different sources. If your calendar type features team photos in January and product images in February, use the same framing and style for both.
Avoiding Clutter in Calendar Printing
A cluttered calendar is hard to use and easy to ignore. Use white space and structured spacing to give each element room to “breathe.” Keep grids clean, margins even, and decorative graphics minimal. This helps in making sure that dates remain easy to read, which is important for business clients and households alike.

2. Use a Calendar Template for Efficiency
Using a template helps with design and cuts down on mistakes, even if you’re printing different types of calendars. Templates help you stay organized and still leave room for tweaks, whether you’re printing a wall calendar, a desk version, or a promo giveaway.
Before finalizing your print run, always review a sample or proof of your calendar to make sure it meets the quality and accuracy you were looking for.
How to Print a Calendar with Less Hassle
Using templates, printing a calendar makes things much easier. You won’t have to worry about misaligned dates or missing holidays, and you’ll save a ton of time. Most design programs and print shops offer calendar templates in popular sizes and layouts.
Pick one that’s the right shape and format for you, whether that’s horizontal, vertical, a full-year grid, or monthly tear-off pages. Some online tools also provide instant proof features, letting you review your calendar design immediately before printing to catch any errors or make quick adjustments.
Customizing Templates for Different Calendar Types
Go for templates with big grids and room for photos. Desk calendars work best with layouts that have smaller date boxes and sturdy, stand-up bases. Simple, easy-to-read designs are perfect for pocket calendars or planner inserts.
Starting with a template means you can tweak your calendar, add your logo, highlight important dates, or feature events, with a few quick updates. If you’re creating promotional calendars for business, this approach helps you stay consistent and professional while saving time.
3. Use High-Quality Images for Professional Results
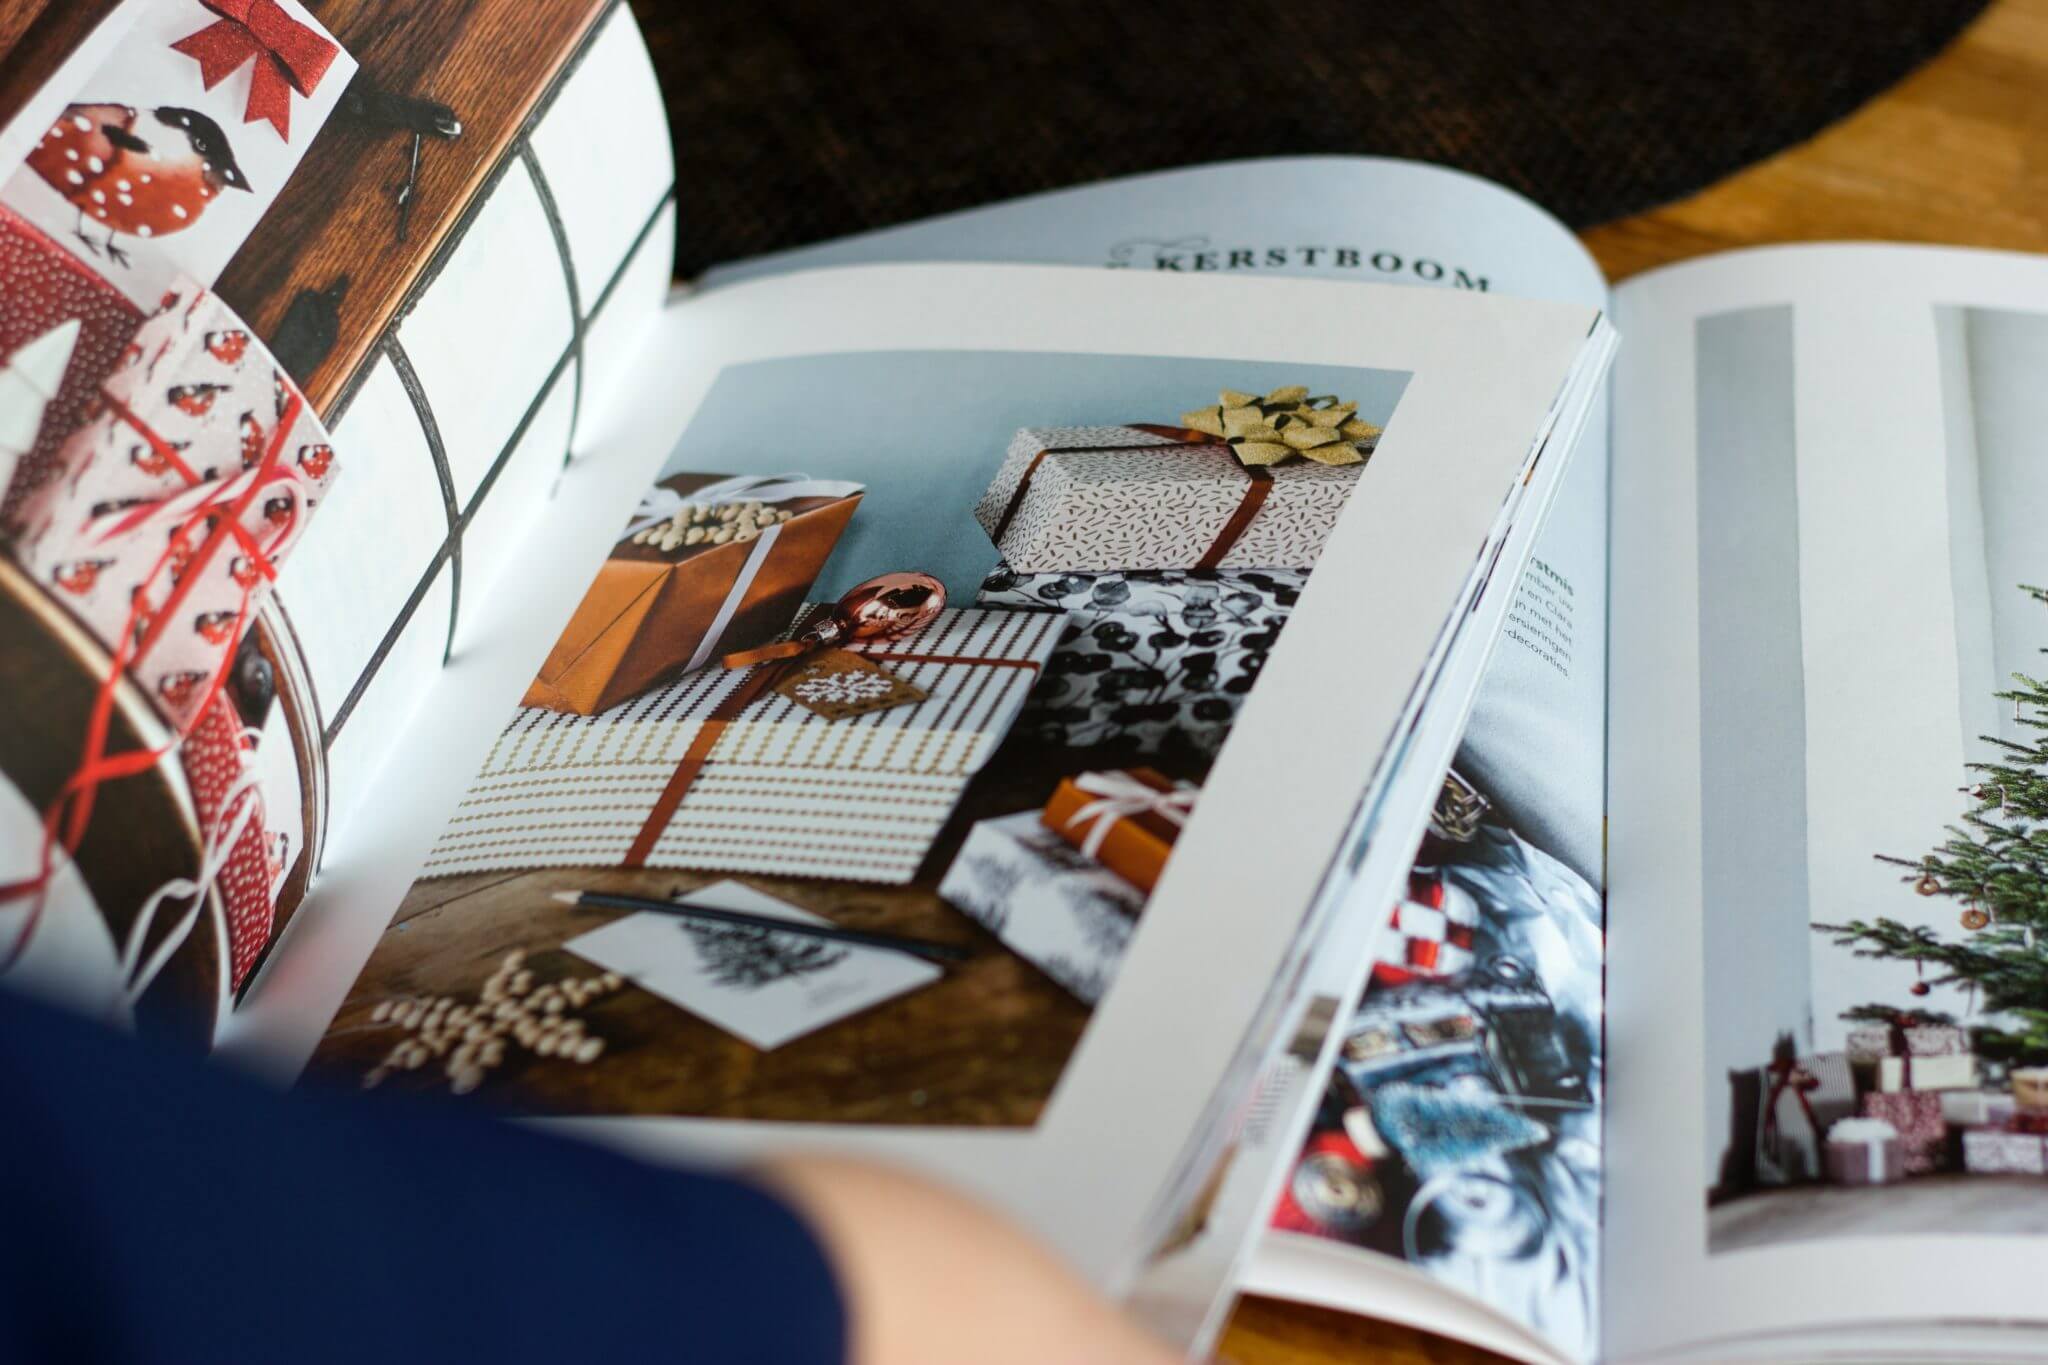
High-resolution, well-composed images are important when printing a calendar, whether it’s for personal use or as part of a promotional calendar for your business. Choose meaningful pictures and upload them directly from your computer to personalize your calendar. Clean, clear photos help your calendar stand out, so people want to hang it on their wall or keep it on their desk.
When preparing your calendar, make sure your document is in the correct file format, such as PDF, and that the resolution is at least 300 dpi for optimal print quality.
For the best results, save your calendar as print-ready PDF files or print-ready PDFs before submitting it for printing.
Choosing the Right Photos for Calendar Printing
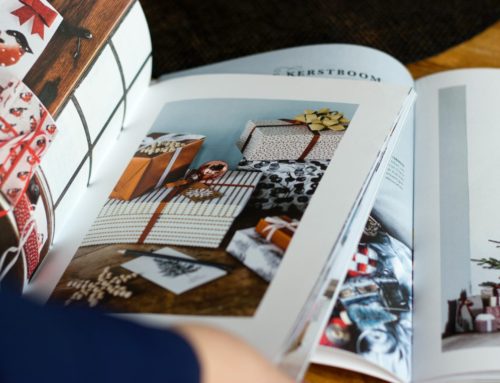
Photos are typically the first thing people notice on a calendar, so choose images that stand out. For photo calendars, this is your chance to showcase your favorite images each month, making each page personal and memorable.
If you’re using stock photos, double-check that you’re allowed to print them, and select images that match each month or season. Snowy scenes for winter, fresh flowers for spring, you get the idea.
How High-Quality Images Improve Final Calendar Output
If your images aren’t sharp enough, your calendar can come out looking fuzzy or pixelated, especially if it’s a big one. High-quality photos make your calendar (and your brand) look trustworthy and professional.
Before you send your files to print, zoom in at full size to find any blurry spots. You can use photo editors like Photoshop or free online tools to sharpen up your images, so they always look crisp on the final calendar.
4. Calibrate Your Monitor Before Designing
Calibrating your monitor helps you see colors on your screen the way they’ll look when printed. This is a must if you’re making promotional calendars for your business or have designs where color needs to be spot on.
Why Monitor Calibration Matters in Calendar Printing
Colors can look different from one screen to the next. That perfect blue you chose might turn out dull or gray in print if your monitor isn’t calibrated. If you care about getting brand colors or product photos right, calibration is important.
How to Calibrate Your Monitor for Better Results
Start by tweaking your monitor’s brightness and contrast using its built-in settings. You can also use free online tools like DisplayCAL or your computer’s utilities.
For the most accurate results, consider a hardware tool like the Datacolor Spyder or X-Rite i1Display. Once you’re calibrated, check your calendar design with your print provider’s color profiles to see exactly how it’ll turn out in print.
5. Consider How the Calendar Will Be Used
Before you start printing a calendar, think about who it’s for and where they’ll use it. Is it going on a kitchen wall, an office desk, or being handed out as a branded giveaway at trade shows?
Because the way your calendar gets used should shape its size, layout, paper, and binding. When you match these choices to real-life needs, your calendar is more likely to be helpful and get noticed.
Understanding Different Calendar Types
Wall calendars work great in kitchens and offices for tracking family events or meetings. Desk calendars are perfect for busy employees who need to check their schedules at a glance.
Pocket calendars are handy at trade shows or events because people can easily slip them into a bag, so your brand travels with them. If you want to get a niche, planner inserts or poster calendars are good for more specialized needs.
How to Print a Calendar That Matches Its Purpose
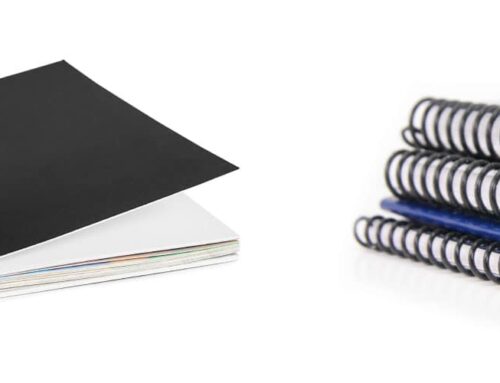
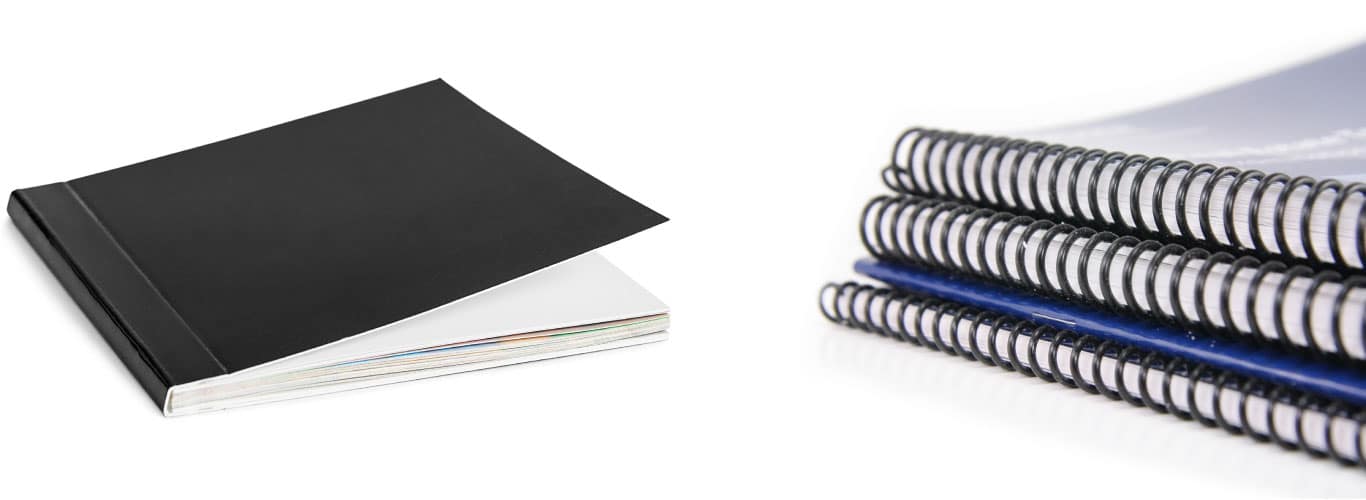
Select a binding that holds up in everyday use: spiral or wire for wall calendars, tent-style for desks, or simple staples for slim planner inserts. For photo-heavy designs, go with sturdy, glossy paper that makes images pop.
If you want folks to write on the calendar, matte paper works better. Most companies choose 100 lb. glossy cardstock for crisp calendar images, while a matte finish is handy for designs with lots of note space.

Bonus Tip: Plan Ahead for Calendar Distribution
Calendars are typically handed out right at the end of the year, so it’s smart to give yourself plenty of time to get everything set. Start your design and approval process a couple of months before you’ll need the finished calendars. This will give you enough time for edits and printing calendars.
For promotional calendars for business, also think about how you’ll package and distribute them. Shrink-wrap, mailer boxes, or envelopes can all work depending on your needs. And if you’re mailing a group of people, team up with a fulfillment partner to save on shipping and speed things up.
Frequently Asked Questions
Ready to Put Your Brand on the Calendar?
Printing a calendar that people use comes down to smart planning, eye-catching design, and choosing the right materials. Stick with consistent branding, save time by using easy-to-edit templates, select clear, crisp photos, calibrate your monitor for true-to-life colors, and pick the right calendar type for your audience.
Follow these tips and your next calendar will be one people want to hang up or put on their desk. Reach out to Digiprint for custom printing services in Reno, NV; we can help you design promotional calendars that will stay on your clients’ desks or walls for years.

